What is Refresh Controller –
In this article, I am going to discuss “What is Refresh Controller in React Native”, I am sure you see the multiple apps where when you pull the app that refresh your data, you can see this functionality in Facebook, Instagram apps.
By using Pull to refresh functionality we refresh the data in our apps, where we pull the screen towards the bottom to load new data.
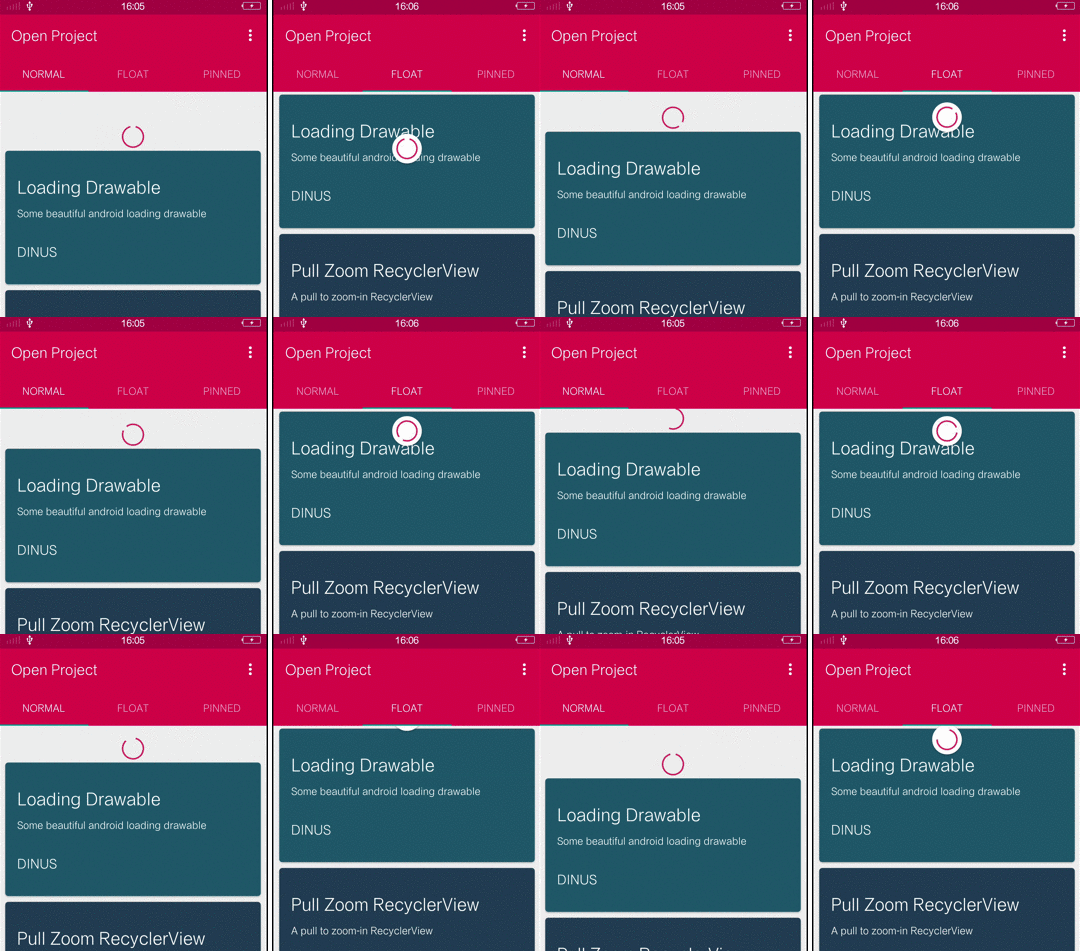
Output Example –

Why we use RefreshController –
By using a refresh controller you can refresh the API when you pull, basically, we implement the API that when we refresh it call that API. below is an example of how we use the RefreshContrller in react native.
Pull to refresh is important for any app where you have data listing, which needs to be refreshed every second. It needs when your users spend a good amount of time on your app, and during that time, more data is generated to show users.
Pull to Refresh –
Pull to Refresh functionality is implemented using RefreshControl, this is a component of React Native. we use the RefreshController inside a ScrollView, ListView and Flat list to add pull to refresh functionality. When the ScrollView is at scrollY: 0, swiping down an onRefresh event.
In our example, we are using a FlatList component to display the list. The FlatList code with RefreshControl looks like this
So here i am showing the example of RefreshControl, let’s start…
Post steps –
We integrate the RefreshControl functionality in the app we follow this step-by-step manner to explore the pull to refresh feature in our app. These are the steps.
STEPS –
- Creating a react-native app
- Import the component
- Set the data into state
- Design the view
- Definition of _onRefresh() function
- Run the app on an Android and iOS device and test
Note – For implementing RefreshController you didn’t need to install any third-party there is a react native component called RefreshControl which we use for refreshing the data.
Step 1 – Creating a react-native app
First we create a react-native app for implementing refresh controller.
react-native init RefreshControllerExampleStep 2 – Import the component
Import the RefreshController where you want to integrate the pull to refresh functionality.
import { RefreshControl } from 'react-native';Step 3 – Set the data into state
Set the data into state for getting the data into list.
 constructor(props) {
        super(props);
        this.state = {
 initialData: [
    {
      title: "test1",
      id: "1"
    },
    {
      title: "test2",
      id: "2"
    },
    {
      title: "test3",
      id: "3"
    },
    {
      title: "test4",
      id: "4"
    },
    {
      title: "test5",
      id: "5"
    }
  ];
}
}
Step 4 – Design the view
Now we design the view within the render method by using this FlatList, in FlatList there is a prop called refreshControl.
render(){
 return(
   <SafeAreaView style={styles.container}>
   //Example with flatlist
      <FlatList
        data={initialData}
        renderItem={({ item }) => <Text>{item.title}<Text/>}
        keyExtractor={item => item.id}
        refreshing={this.state.refreshing}
        refreshControl={
          <RefreshControl refreshing={refreshing}
onRefresh={this._onRefresh}/>}/>

//Example with ScrollView
    <ScrollView
        refreshControl={
          <RefreshControl
            refreshing={this.state.refreshing}
            onRefresh={this._onRefresh}
          />
        }
      />
//Example with ListView
 <View style={{flex:1}}>
        <ListView
          refreshControl={this._onRefresh()}
          dataSource={this.state.initialData}
          renderRow={(text) => this._renderListView(text)}>
        </ListView>
      </View>
</SafeAreaView>
)
}
Step 5 – Definition of _onRefresh() function
Here in _onRefresh function you need to implement the API, which you want to called at the time of when we pull to refresh.
   _onRefresh = () => {
         setRefreshing(true);//here you set the loader true
    if (listData.length < 10) {
      try {
        let response = await fetch(
          'http://www.mocky.io/v2/5e3315753200008abe94d3d8?mocky-delay=2000ms',
        );
        let responseJson = await response.json();
        this.setState({ initialData: responseJson })
        setRefreshing(false)//set the loader false
      } catch (error) {
        console.error(error);
      }
    }
    else{
      console.log('No more new data available');
      setRefreshing(false)//set the loader false
    }
    }
Setup the App in iOS –
To set up the refresh control in iOS what you all need to run the following pod command to set up it in iOS.
cd ios && pod installRun the React Native App –
Open the terminal and jump into your project path then run the following command.
react-native run-android // for android
or
react-native run-ios // for iOS
So we completed the react-native refresh control which is “What is Refresh Controller in React Native“.
You can find my post on medium as well click here please follow me on medium as well.
You can find my next post here.
If have any query/issue, please feel free to ask.
Happy Coding Guys.

Hi, I am a professional Ionic and React Native Pixel Perfect App Designer and Developer, with expertise in Client Communication, Bug Fixing, Third Party Lib, Version Control Tools, Requirement Understanding, and managing teams, I have 6+ years of experience in the same domain as well as in Codeigniter, JS, IoT, and more than 10 other languages. For the last 6+ years, not a single day went without design/development.
Please follow me on Medium: https://nehadwivedi1004.medium.com/


