How to Deploy a React Native IOS app on the App Store –
Here we are going to explain “How to Upload IPA Direct to TestFlight iOS in React Native“, sometimes it is confusing when we try to deploy the iOS app on app store, this guide is basically for beginner developer.
This is a quick guide to upload your app for distribution through Testflight. It assumes that you have the appropriate access to both developer account(developer.apple.com) and iTunes account (itunesconnect.apple.com).
Step 1 – Select the project
In Xcode, add your bundle ID to the app’s settings and select the company from the Signing options. Select Generic iOS Device from the top menu

- Check the launch screen is default
- iOS version is 11.0
- Build version need to update(in general section)

Step 2 – Archive the app
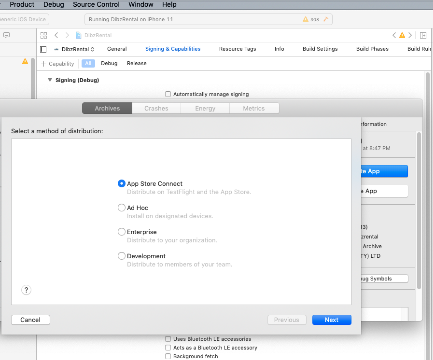
Select the Archive(from the product)-> App Store connect-> Next (if your developer. Id already added in Xcode preference then it upload direct)

Step 3 – Push it live
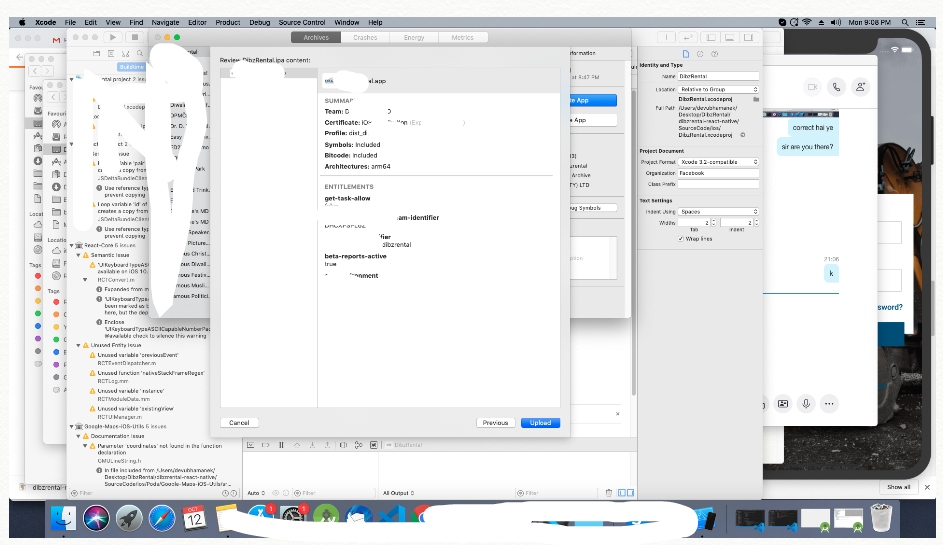
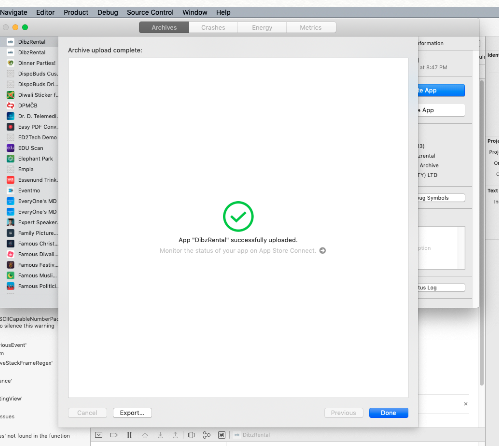
After successfully uploaded your app on App Store you get the message like this then click on upload.

Step 4 – After Successful Upload

So we completed the react native IPA upload functionality which is “How to Upload IPA Direct to TestFlight iOS in React Native“.
You can find my post on medium as well click here please follow me on medium as well.
You can find my next post here.
If have any query/issue, please feel free to ask.
Happy Coding Guys.

Hi, I am a professional Ionic and React Native Pixel Perfect App Designer and Developer, with expertise in Client Communication, Bug Fixing, Third Party Lib, Version Control Tools, Requirement Understanding, and managing teams, I have 6+ years of experience in the same domain as well as in Codeigniter, JS, IoT, and more than 10 other languages. For the last 6+ years, not a single day went without design/development.
Please follow me on Medium: https://nehadwivedi1004.medium.com/


